How to Make Your Own Real Vanilla Extract (Plus Tips for the Perfect Batch!)
posted on
November 13, 2024
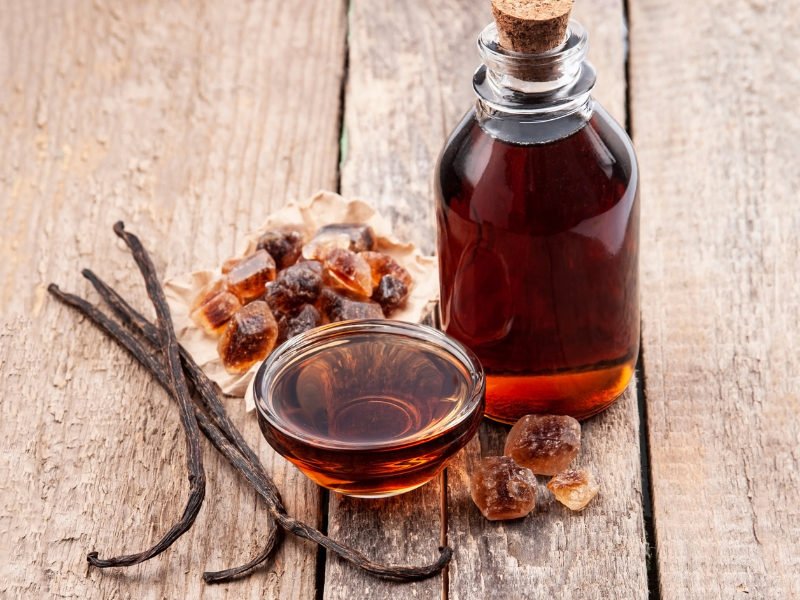
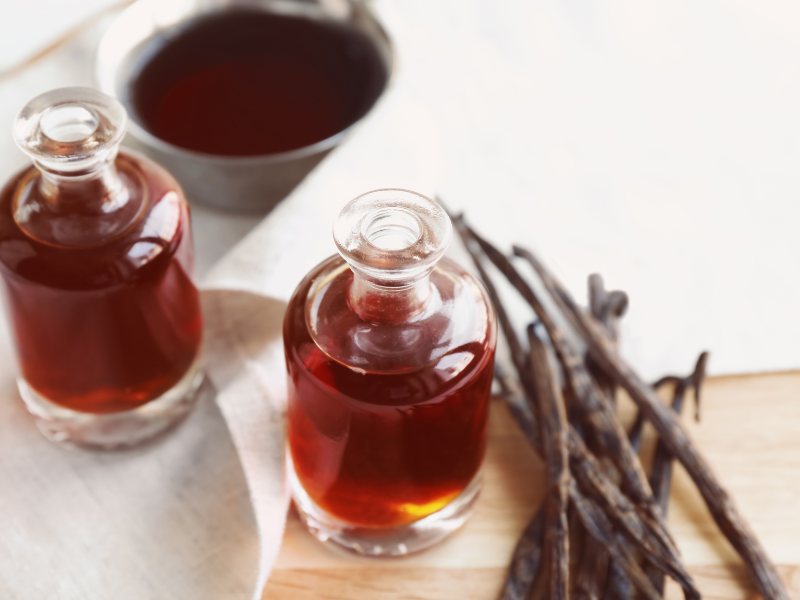
Making homemade vanilla extract is one of those little DIY projects that makes a big difference in the kitchen.
Store-bought versions can’t compete with the depth and richness of a batch made right at home, and it’s surprisingly easy to make!
With just a few ingredients and a bit of patience, you can create vanilla extract that brings an extra layer of flavor to all your baked goods.
Here's how to get started on your own homemade vanilla extract, plus a few tips to make sure your batch turns out perfectly.
Why Make Your Own Vanilla Extract?
When you make your own, you’re in full control of the quality of ingredients. High-quality vanilla beans and a decent bottle of vodka are all you need.
And if you’ve ever bought real vanilla extract, you know it’s a bit pricey—this DIY method is often more affordable in the long run.
Plus, it’s a fantastic way to create meaningful gifts for friends and family who love to bake!
DIY Vanilla Extract Recipe
What You’ll Need
- 6-8 vanilla beans – Madagascar, Tahitian, or Mexican are all great options, each with its own unique flavor notes.
- 1 cup vodka – Choose an 80-proof vodka for best results. Rum or bourbon can also work if you want a different flavor twist!
- Glass jar with a tight seal – Dark glass is ideal to protect your extract from light, which can break down the flavors.
Instructions
- Slice the Beans – Use a sharp knife to split each vanilla bean lengthwise down the middle, leaving about an inch at the top uncut so the beans stay together. This exposes all those flavorful little seeds inside.
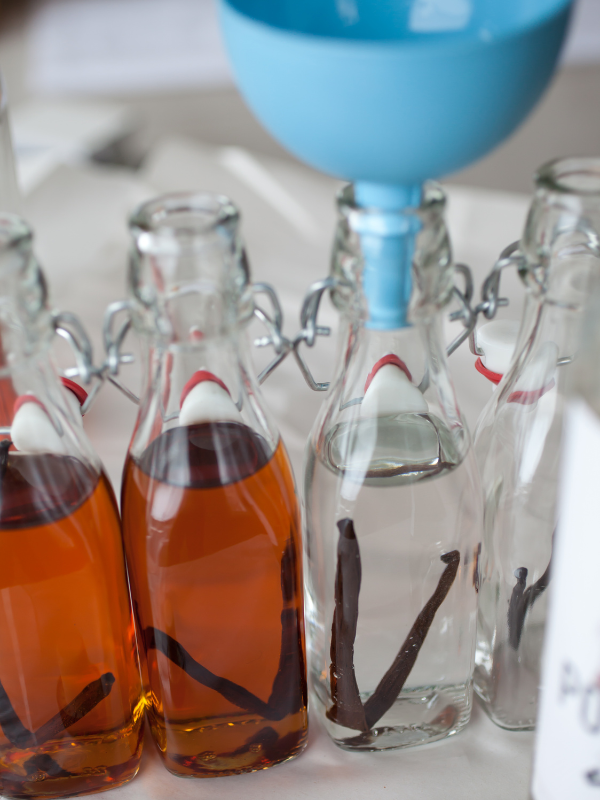
- Combine in the Jar – Place the split beans into your glass jar, then pour the vodka over the beans until they’re fully submerged.
- Seal and Shake – Secure the lid tightly, then give the jar a good shake to help everything start infusing.
- Store and Wait – Now, the hardest part: place the jar in a cool, dark spot and let it sit for at least 8 weeks. Shake it about once a week to keep things moving along. For a truly deep flavor, let it infuse for 6 months or even longer. (Trust me, it’s worth the wait!)
Tips for Making the Best Vanilla Extract
Here are a few tips to make sure your homemade vanilla extract is the very best it can be:
- Use Plenty of Beans: The more beans you use, the more intense the flavor. If you really want a bold extract, aim for at least 6-8 beans per cup of alcohol.
- Replenish and Reuse: Once you’ve used up most of your extract, you can top it off with more vodka and let it infuse again! The beans can keep giving flavor for a second round, although you may want to add a few fresh beans too.
- Dark Glass for Storage: A dark glass bottle is best for storing vanilla extract since it protects the flavor from light. If you only have a clear jar, keep it stored somewhere dark, like the back of a cupboard.
Bottling & Gifting Ideas
Your homemade vanilla extract makes a thoughtful (and delicious!) gift. Bottle up small jars, add a cute label with the date and a fun ribbon, and you’re ready to share.
Just make sure to remind the lucky recipient that the longer they let it sit, the richer the flavor will be!
Pro Tip: Label Your Jar
This is one of those recipes that’s easy to forget about once it’s in the back of your cupboard. Adding a little label with the date you started will help you keep track of when your extract reaches peak flavor.
Now that you’ve got the know-how, it’s time to get creative in the kitchen! Making your own vanilla extract is a simple step that will add a whole new layer to your baking.
Plus, with holiday season around the corner, there’s no better time to have a stash of this amazing DIY treat on hand.
Do you plan on making this? Let us know in the comments!
