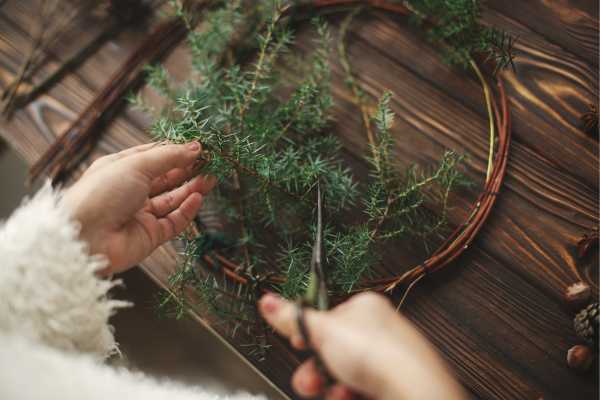
Craft Your Own Wintergreen Centerpiece: A Step-by-Step Guide
posted on
November 29, 2023

Ready to bring the enchantment of winter indoors? Let's dive into crafting a stunning wintergreen centerpiece that will be the focal point of your holiday decor!
Follow these steps for a touch of seasonal magic:
Materials Needed:
- Winter Greens: Gather an assortment of evergreen branches like pine, cedar, spruce, and fir. Aim for a mix of textures and shades.
- Pruning Shears or Scissors: Sharp tools make clean cuts and keep your greens fresh.
- Decorative Container: Choose a container that suits your style – it could be a rustic wooden box, a metallic vase, or even a festive bowl.
- Floral Foam or Water-Soaked Oasis: This keeps your greens hydrated and in place.
- Optional Decorations: Add pinecones, berries, ornaments, or ribbon for an extra festive touch.
- Wire or Floral Tape: To secure the greens and decorations.

Steps:
1. Prepare Your Container:
- If using floral foam, soak it in water until fully saturated. Place it in the container.
- If not using floral foam, fill the container with water.
2. Trim and Sort Your Greens:
- Using pruning shears, trim the winter greens to your desired length. Remove excess foliage from the lower part of the stems.
- Sort the greens by type and size to make the arrangement more balanced.
3. Create the Base:
- Start by placing the larger and sturdier branches in the center of the container.
- Gradually add shorter and more delicate branches around the edges, forming a rounded or oval shape.
4. Add Texture and Layers:
- Layer different types of greens to add texture. Mix darker and lighter shades for visual interest.
- Insert the branches at varying angles to create a natural and dynamic look.
5. Incorporate Decorations:
- Tuck pinecones, berries, or ornaments into the greens. Distribute them evenly for a balanced appearance.
- If using wire or floral tape, secure the decorations in place.
6. Fill Gaps and Gently Adjust:
- Fill any gaps in the arrangement with additional greens.
- Step back and assess the overall shape. Gently adjust the branches to achieve the desired fullness and symmetry.
7. Secure the Arrangement:
- If needed, use wire or floral tape to secure the greens and decorations in place. This is especially important if you plan to move or transport the centerpiece.
8. Place and Enjoy:
- Position your wintergreen centerpiece in the heart of your home – it could be the dining table, coffee table, or even a festive focal point on the mantle.
- Keep the greens hydrated by misting them with water every few days.

Voila! You've just crafted a captivating wintergreen centerpiece that captures the essence of the season.
Share your creations with us – we'd love to see how you're embracing winter's natural beauty! Leave us a comment below.
More inspiration from our followers:


