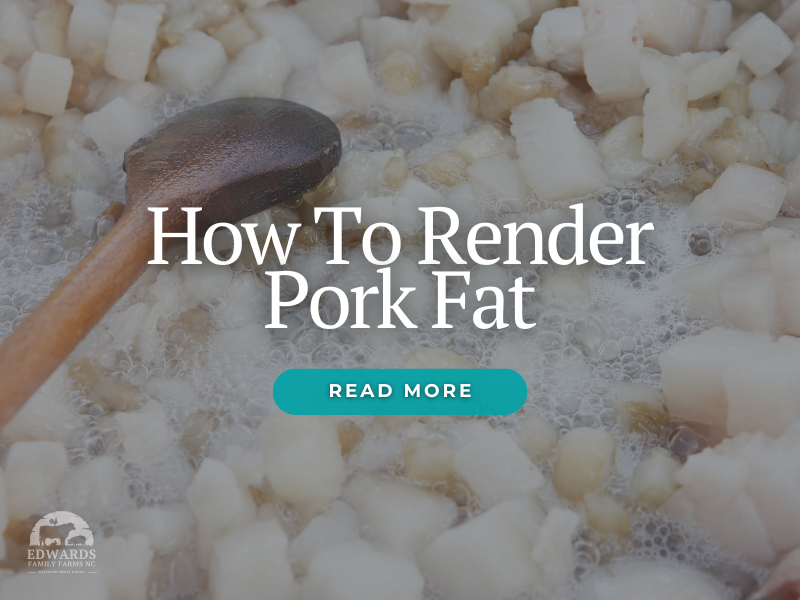
Rendering your own lard from pork leaf fat is like tapping into a cooking superpower. It’s natural, gives your dishes a flavor boost, and (let’s be honest) makes you feel like a homesteading hero. Plus, it’s easier than you think—as long as you keep the heat low and don’t rush the process!
Let’s break it down step by step, so you’re left with a jar of beautiful, creamy lard to use in everything from frying eggs to baking flaky pie crusts.
What You’ll Need:
Leaf Fat: Grab 2–4 pounds of pork leaf fat from our online store.Tools: A big pot or slow cooker, a fine-mesh strainer or cheesecloth, a wooden spoon, a heatproof container (like a Mason jar), and a sharp knife if you need to trim anything off the fat.
Step-by-Step Process
1. Chill Out (Literally)Take your pork fat and pop it in the freezer for about an hour. This step just firms it up, making it easier to handle. Trying to slice warm, squishy fat? That’s a mess waiting to happen.
2. Chop It UpOnce it’s chilled, slice your fat into little cubes (about an inch or so). The smaller the pieces, the quicker they’ll render down, and the smoother your lard will be.
3. Set Up the PotNow, toss those fat cubes into a heavy pot or slow cooker. If you’re the “set it and forget it” type, go with the slow cooker on its lowest setting. For stovetop folks, turn your burner down to low. Low and slow is key here—high heat will scorch the fat and give you lard with a funky flavor.
4. Let It MeltAs the heat does its thing, you’ll see the fat start to melt and release liquid lard. Stir every 15–20 minutes with a wooden spoon to keep everything even and prevent sticking. Patience is your friend here.
5. Watch for CracklingsEventually, you’ll see little solid bits, called cracklings, start to float. These are like the bacon bits of rendering fat. When they turn a lovely golden color, your rendering is just about done.
6. Strain and PourGet your strainer or cheesecloth ready over a heatproof container and carefully pour the hot lard through it, catching any little bits. This makes your lard smooth and creamy. Just be careful—hot lard is no joke.
7. Cool It Down and Store It UpLet the lard cool to room temperature, then seal it up in your container. Store it in the fridge where it’ll stay good for months, or the freezer if you want it to last even longer. (But let’s be real, it’ll be gone way before then!)
Pro Tip:If you’re a fan of cracklings, save those golden bits you strained out, sprinkle a little salt on top, and snack away. They’re crispy, porky goodness!
Now you’ve got a jar of homemade lard—perfect for any cooking project that could use a bit more flavor and a little less “store-bought.”
Click here to buy your pork leaf fat.


